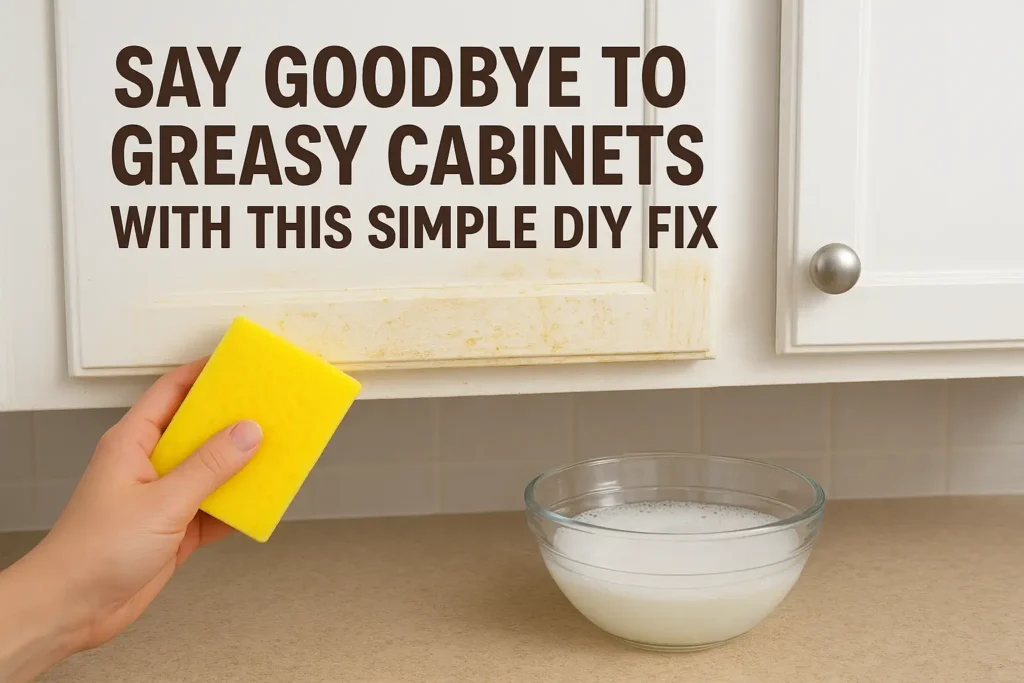
Say Goodbye to Greasy Cabinets with This Simple DIY Fix
Ever opened your kitchen cabinets and cringed at the sticky, greasy mess? Whether it’s from desi cooking with all that masala or just daily wear and tear, greasy cabinets are a headache for every home cook. But what if you could banish that grime with a simple, budget-friendly DIY fix using ingredients you already have? In this guide, we’ll walk you through a proven method to clean greasy cabinets using everyday items like baking soda and vinegar, plus share tips to keep them spotless. Say goodbye to greasy cabinets and hello to a sparkling kitchen with this easy, eco-friendly solution!
Why Do Kitchen Cabinets Get Greasy?
Greasy cabinets are a common issue, especially in kitchens where oil, spices, and steam are part of the daily grind. The culprits? Cooking splatters, fingerprints, and airborne grease particles that settle on surfaces over time. In desi households, frying pakoras or simmering curries can make cabinets a magnet for sticky residue. But don’t worry—this DIY fix is here to save the day!
Benefits of This DIY Cleaning Method
- Affordable: Uses pantry staples, no expensive cleaners needed.
- Eco-Friendly: Non-toxic and safe for your family and pets.
- Effective: Cuts through grease without damaging cabinet finishes.
- Quick: Takes less than 30 minutes for most kitchens.
Let’s get started with the step-by-step guide to clean your greasy cabinets and keep them looking brand new.
The Simple DIY Fix for Greasy Cabinets
What You’ll Need
- Baking Soda: Acts as a mild abrasive to break down grease.
- White Vinegar: Cuts through oil and adds shine.
- Dish Soap: Boosts grease-fighting power.
- Warm Water: Helps loosen grime.
- Microfiber Cloths or Sponges: For gentle scrubbing and wiping.
- Spray Bottle: For easy application.
- Bucket or Bowl: For mixing the solution.
- Dry Towel: For a streak-free finish.
Step-by-Step Guide to Clean Greasy Cabinets
How to clean greasy kitchen cabinets with a DIY solution?
- Prepare the Cleaning Solution:
- Mix 2 tablespoons of baking soda, 1 teaspoon of dish soap, and 1 cup of warm water in a bowl.
- Pour 1 cup of white vinegar into a spray bottle for easy application.
- Pro Tip: Warm water helps dissolve grease faster, so don’t skip heating it up slightly.
- Wipe Down the Cabinets:
- Dip a microfiber cloth or sponge into the baking soda mixture.
- Gently scrub the greasy areas in circular motions, focusing on handles and edges where grease builds up.
- Pro Tip: Test the solution on a small, hidden area first to ensure it’s safe for your cabinet finish.
- Tackle Stubborn Grease:
- For extra greasy spots (like near the stove), spray vinegar directly on the area.
- Let it fizz for 1–2 minutes to break down tough grime, then scrub again with the baking soda mixture.
- Pro Tip: Use an old toothbrush for tight corners or intricate cabinet designs.
- Rinse and Wipe:
- Dampen a clean microfiber cloth with plain warm water.
- Wipe away the cleaning solution to remove any residue.
- Pro Tip: Avoid soaking the cabinets, especially if they’re wooden, to prevent warping.
- Dry and Polish:
- Use a dry towel to buff the cabinets to a shine.
- For extra sparkle, lightly spray vinegar and wipe with a dry microfiber cloth.
- Pro Tip: This step prevents streaks and keeps cabinets looking polished.
How Long Does It Take?
This DIY fix takes about 20–30 minutes for an average-sized kitchen, depending on the level of grease. For heavily soiled cabinets, you may need an extra 10 minutes for stubborn spots.
Additional Tips to Prevent Greasy Cabinets
Once your cabinets are clean, you’ll want to keep them that way! Here are some practical tips to prevent grease buildup:
- Wipe Regularly: Clean cabinets weekly with a damp cloth to catch grease early.
- Use a Splatter Guard: When frying or cooking oily dishes, a splatter guard reduces grease spread.
- Ventilation is Key: Run your kitchen exhaust fan or open a window to minimize airborne grease.
- Apply a Protective Layer: For wooden cabinets, apply a thin layer of furniture polish or beeswax every few months to repel grease.
- Handle with Care: Use cabinet knobs or handles instead of touching the surface to reduce fingerprint grease.
Why This DIY Fix Works
The magic of this method lies in the combination of baking soda, vinegar, and dish soap:
- Baking Soda: Its mild abrasiveness scrubs away grease without scratching surfaces.
- Vinegar: Its acidity dissolves oil and lifts stubborn grime.
- Dish Soap: Breaks down grease molecules for easy removal.
This trio is non-toxic, budget-friendly, and safe for most cabinet materials, including wood, laminate, and metal. Plus, it’s a sustainable alternative to chemical-heavy store-bought cleaners.
Safety Precautions
- Test First: Always test the solution on a small area to avoid damaging delicate finishes.
- Avoid Over-Wetting: Too much water can harm wooden cabinets, so use a lightly damp cloth.
- Ventilate: Open windows or use a fan when working with vinegar to avoid strong fumes.
- Protect Your Hands: Wear gloves if you have sensitive skin to avoid irritation from vinegar.
Variations for Different Cabinet Types
Wooden Cabinets
Wooden cabinets need extra care to avoid water damage. Use less water in the baking soda mixture and dry thoroughly after cleaning. For polished wood, skip vinegar and use only baking soda with dish soap.
Laminate Cabinets
Laminate is durable and handles this DIY solution well. You can use the full method without worry, but avoid abrasive scrubbers that might scratch the surface.
Painted Cabinets
For painted surfaces, dilute the solution with more water to prevent stripping paint. Use a soft cloth and gentle motions to preserve the finish.
Metal or Stainless Steel Cabinets
Metal cabinets love this solution! The vinegar adds extra shine, but be sure to dry completely to prevent water spots.
Bonus Uses for Your DIY Solution
This cleaning mix isn’t just for cabinets! Try it on:
- Stovetops: Removes grease splatters with ease.
- Sink Fixtures: Polishes chrome and stainless steel.
- Countertops: Safe for most surfaces (test first on stone).
- Microwave Interiors: Cuts through greasy residue from reheating leftovers.
Maintaining Your Sparkling Cabinets
To keep your cabinets grease-free long-term:
- Daily Wipe-Downs: Use a damp cloth after cooking to catch grease early.
- Monthly Deep Clean: Repeat this DIY fix every 4–6 weeks for heavily used kitchens.
- Organize Cooking Habits: Store oils and spices away from cabinets to reduce splatter risks.
- Use Liners: Shelf liners can catch drips and make cleanup easier.
Why Choose DIY Over Store-Bought Cleaners?
Store-bought degreasers can be expensive and packed with harsh chemicals that might damage your cabinets or harm the environment. This DIY fix is:
- Cost-Effective: Ingredients cost less than $1 per use.
- Safe: No toxic fumes or residues.
- Customizable: Adjust the solution strength for your needs.
- Eco-Friendly: Reduces plastic waste from disposable cleaning bottles.
Frequently Asked Questions (FAQs) About Cleaning Greasy Cabinets
What is the best way to clean greasy kitchen cabinets?
The best way is to use a DIY solution of baking soda, dish soap, and warm water to scrub grease, followed by vinegar to break down stubborn grime. Wipe with a damp cloth and dry thoroughly for a streak-free finish.
Can I use vinegar alone to clean greasy cabinets?
Vinegar alone can help, but combining it with baking soda and dish soap is more effective for tough grease. Vinegar cuts through oil, while baking soda scrubs and dish soap boosts cleaning power.
Is this DIY solution safe for wooden cabinets?
Yes, but use sparingly and avoid over-wetting. Test on a small area first, and dry immediately to prevent water damage. Skip vinegar for polished wood cabinets.
How often should I clean my kitchen cabinets?
Wipe cabinets weekly with a damp cloth to prevent grease buildup. Do a deep clean with this DIY solution every 1–2 months, depending on how much you cook.
Can baking soda scratch my cabinets?
Baking soda is a mild abrasive, safe for most surfaces when used with a soft cloth or sponge. Avoid aggressive scrubbing on delicate finishes like high-gloss paint or polished wood.
What if my cabinets are still greasy after cleaning?
For stubborn grease, let the baking soda mixture sit on the spot for 5–10 minutes before scrubbing. Repeat the process or increase the dish soap amount for extra strength.
Can I use this method on other kitchen surfaces?
Yes, this solution works on stovetops, countertops, and sink fixtures. Always test on a small area first, especially on stone or delicate surfaces.
How do I prevent grease buildup on cabinets?
Wipe cabinets regularly, use a splatter guard when cooking, ensure good ventilation, and apply a protective polish to repel grease.
Is this DIY fix safe for homes with kids or pets?
Absolutely! Baking soda, vinegar, and dish soap are non-toxic and safe when used as directed. Keep vinegar out of reach and ventilate the area during cleaning.
Where can I buy the ingredients for this DIY fix?
Baking soda, vinegar, and dish soap are available at grocery stores, supermarkets, or online. Look for food-grade baking soda and white distilled vinegar for best results.
Conclusion
With this simple DIY fix, greasy cabinets are a thing of the past! Using pantry staples like baking soda and vinegar, you can restore your kitchen to its sparkling best without breaking the bank. Whether you’re battling desi cooking grease or everyday grime, this eco-friendly method is a game-changer. Try it today, and share your results with us! For more kitchen cleaning hacks, stay tuned for our next guide. Happy cleaning, and keep your desi kitchen shining!


